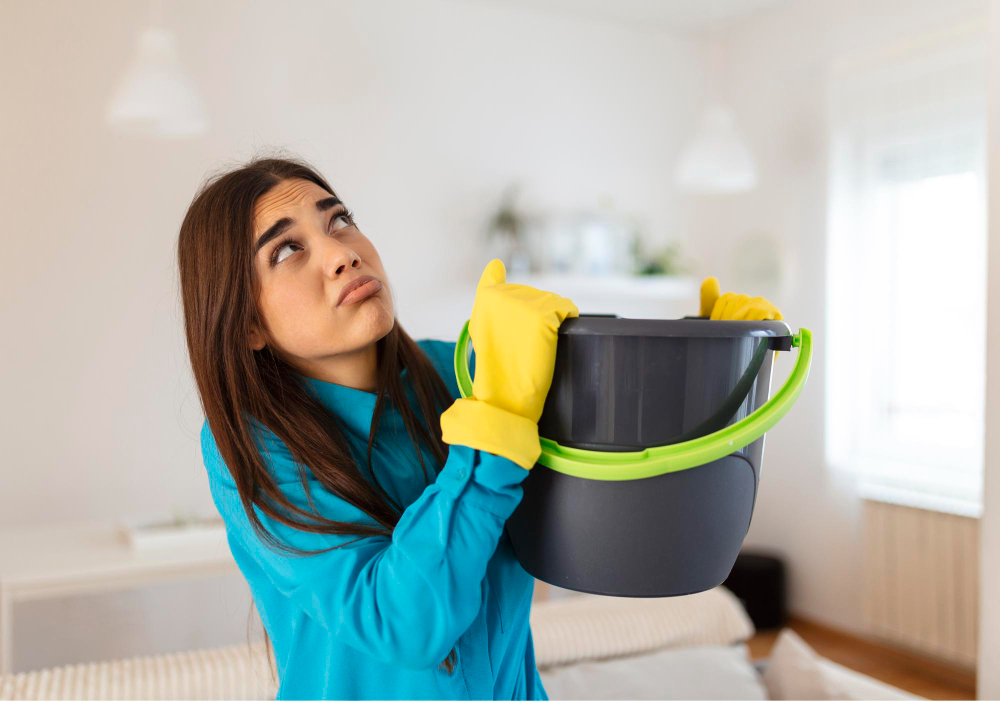
Water damage can wreak havoc on your home, causing structural damage and fostering the growth of hazardous mold. This guide provides a step-by-step roadmap for homeowners to manage and remediate water damage effectively. Whether it’s a minor leak or a major flood, understanding how to assess and address the damage can make a difference. Follow along to ensure you have the knowledge and skills to protect your home and health in the face of water damage.
Understanding the Different Types of Water Damage
Clean Water Damage
Broken pipes, overflowing sinks, and other sources of uncontaminated water cause clean water damage. These types of water accidents can be addressed quickly if the source is identified and contained.
Grey Water Damage
Gray Water Damage: Gray water damage occurs when water has come into contact with contaminants such as soap or food particles. This type of contamination requires professional cleaning services to ensure the area is safe and sanitary.
Black Water Damage
Black water damage occurs when water has been contaminated by sewage or other hazardous materials. Due to the increased health risk, black water damage must be addressed quickly and professionally with heavy-duty protective gear.
Having a plan in place for how to respond to each type of water
Step-By-Step Guide to Water Damage Remediation
Below is a step-by-step guide to the water damage process. For a really detailed look, check out this Guide to Water Damage.
Step 1: Safety First
Safety is paramount in the water remediation process due to several reasons. First, water damage incidents often involve electricity, potentially leading to electrocution risks if not handled cautiously. Secondly, water damage can compromise the structural integrity of your home, creating hazardous conditions such as falling debris or unstable flooring. Lastly, the water causing the damage could contain harmful contaminants such as bacteria, mold spores, or even hazardous material in the case of black water damage. Direct contact or inhalation of these contaminants could lead to serious health complications. Therefore, ensuring safety measures, including wearing protective gear and isolating the affected area, is critical before remediation.
Step 2: Assess and Document the Damage
When a professional water damage company is involved, they typically commence remediation by thoroughly assessing the situation. The company’s trained experts will examine the extent and type of water damage, which is critical in determining the appropriate steps for remediation. They are equipped with specialized tools such as moisture meters and infrared cameras, which help detect hidden water or moisture in floors, walls, and ceilings. This comprehensive evaluation helps identify the damage’s source, the type of water involved (clean, gray, or black water), and the degree of contamination or mold growth. Following the evaluation, they document the damage, often taking photographs or videos, which can assist homeowners in making insurance claims. This professional assessment is crucial in devising a detailed, effective plan for water damage remediation.
Step 3: Water Extraction
A company will perform bulk water extraction. This involves using vacuums and pumps to remove standing water from all affected areas. This step is essential for preventing further damage, as wet materials such as carpets, drywall, and insulation can quickly become a breeding ground for mold and other contaminants.
Step 4: Drying and Dehumidifying
The next step in the process is drying and dehumidifying the affected area. This is done by using specialized equipment, such as dehumidifiers and fans, to reduce the moisture in the air. Measuring humidity levels before and after this step helps ensure that all areas are completely dry.
Step 5: Disinfection and Sanitization
Once the area is dry, cleaning and sanitizing the space is essential. This is done by using special cleaning products that remove mold, mildew, and other contaminants. Professional cleaners may be necessary in more severe cases due to the risk of spreading contamination or illness.
Step 6: Repair and Restoration
The final step in water damage remediation is to repair any damage caused by water. This may include replacing the floor, drywall, insulation, and other damaged components.
Step 7: Final Walkthrough
Upon completion of the remediation process, a final walkthrough is conducted by experts to ensure that all damage has been addressed and that the area is safe and healthy. Once everything has been checked off, you can know your home is restored and back in order! With water damage remediation, it’s important to act quickly!
Tips for Preventing Future Water Damage
Regular Maintenance
Regular maintenance is key in preventing water damage. Here are several steps you can take:
- Check for leaks regularly: Inspect your home for signs of leaks regularly, including under sinks, around windows, and in the attic. Small leaks, if left unattended, can quickly escalate into significant water damage.
- Inspect your roof: Regularly inspect your roof for signs of damage such as missing or worn-out shingles. A damaged roof can allow water to seep into your home, causing extensive damage.
- Clean your gutters and downspouts: Clogged gutters and downspouts can cause water to overflow and seep into your home’s foundation, resulting in water damage. Regularly cleaning your gutters and downspouts, especially after a storm, can help prevent this.
- Maintain appliances: Appliances that use water, such as washing machines, dishwashers, and refrigerators, can cause water damage if they start to leak. Regular maintenance and inspection of these appliances can help prevent leaks before they start.
- Inspect and maintain your HVAC system: A clogged or malfunctioning HVAC system can cause condensation build-up, which could lead to water damage. Regular HVAC inspections and maintenance can prevent this.
- Know the location of your home’s main water shutoff valve: In case of a burst pipe or major leak, you’ll want to shut off the water to your home immediately to prevent further damage. Ensure you and all household members know where this valve is located.
You can significantly reduce the likelihood of experiencing water damage by staying proactive with regular home maintenance.
Installing Water Leak Detectors
Installing a water leak detector is a straightforward process that can provide additional protection against water damage. Here are the steps involved:
Step 1: Choose the Right Location
Place the leak detector in an area where water leaks are likely to occur. This could be near appliances that use water, such as washing machines, dishwashers, or refrigerators, or in areas like the basement or attic where pipes may be exposed.
Step 2: Prepare the Detector
Before installing the detector, make sure to install batteries if needed. Some models may require you to download a companion app on your smartphone and pair the detector with your device for alerts.
Step 3: Install the Detector
Most leak detectors don’t require any special tools for installation. Depending on the model, you may need to secure it to the wall or floor using adhesive strips or mount it using screws. Make sure to follow the manufacturer’s instructions.
Step 4: Test the Detector
Once the detector is installed, it’s important to test it to ensure it works correctly. You can do this by placing a damp cloth or small water near the sensor. If working correctly, the detector should alert you to the presence of moisture.
Remember, while water leak detectors can provide early warning of leaks, regularly inspecting and maintaining your home remains vital in preventing water damage.
Conclusion
In conclusion, water damage can have significant consequences if not promptly and effectively addressed. From the initial assessment to the final walkthrough, each phase of water damage remediation plays a crucial role in restoring your home’s condition and safeguarding your health. However, the success of this process vastly depends on the expertise and capabilities of the restoration company you choose. With this in mind, consider WetReset, a platform that meticulously vets water damage restoration companies to ensure they hold the highest standards of professionalism and efficiency. Selecting a top-tier service like the ones recommended by WetReset not only guarantees quality work but also brings peace of mind, knowing experts are restoring your property.